One of the most important steps you take when selling your house is to stage your home. That’s because the way that you stage your home is what gives customers their first impression of your house and entices them to buy!
If you’re unsure of where to start in the home staging process, don’t panic. This guide walks you through how to stage your house before you have a professional photographer take photos.
Clean, Clean, Clean
The first of our staging tips Cleaning isn’t just important for photography, it’s important for preparing to sell a home in general. That’s because even the smallest amount of dirt on a surface can catch a buyer’s eye and be a turn-off. While your photographer may be able to use photo editing software for your real estate photos, it’s not a good idea to rely on Photoshop. Besides, you’ll have to clean everything to get your house ready for sale anyway.
Make sure to wipe down all floors, surfaces, and mirrors in the home before you get any photos taken. That way, your home will really shine when customers check out your home’s pictures in a virtual tour!
Clear Out the Clutter
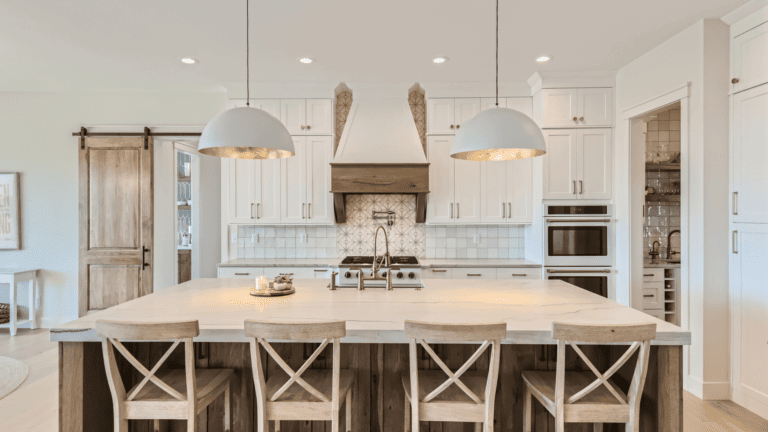
Most of us have a few knick-knacks or odds and ends lying around here and there. And, while we might not notice it in our daily routine, potential buyers will pick up on that clutter right away. No surface in your home would have more than a few objects on it at a time. Clear away any additional objects, and make sure to tastefully arrange any objects that you leave lying around.

One of the most important things for prospective home buyers is for them to imagine their future in your home. Professional home staging companies sometimes recommend that you take down picture frames so that potential buyers can imagine their families in the home.
Let in the Natural Light
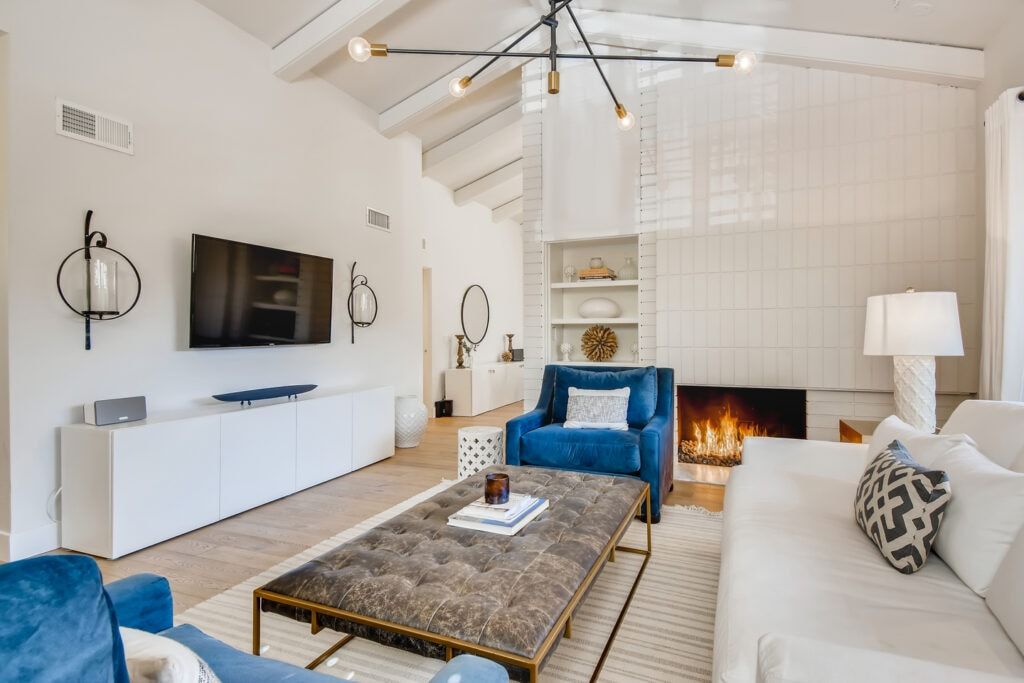
Natural light helps open up a room and make it look friendly and bright. Plus, brighter rooms tend to look larger in photographs. To help open up your home, make sure that all the blinds in your home are drawn. This lets in the sunshine and will help the rooms in your house to photograph better.
That’s right. Natural light doesn’t just affect exterior photos and outdoor shots. Natural light allows for a better white balance which can result in high-quality photos. Artificial lighting doesn’t always translate well so your real estate photographer may recommend certain light bulbs or a specific light fixture to help your home shine. Long story short: quality images depend on light!
Manage Your Furniture
When staging your home for photography, you might need to move some furniture around. This is because oversized furniture can make your rooms look smaller than they really are. A rule of thumb: only keep functional furniture, such as a coffee table or bed, in your home for your photo shoot.
Before your real estate photography team comes into your home, play around with your furniture. Move bulky items to the side and limit how many pieces of furniture you have in one room to keep the spaces looking open and bright.
Don’t Forget the Outdoor Areas
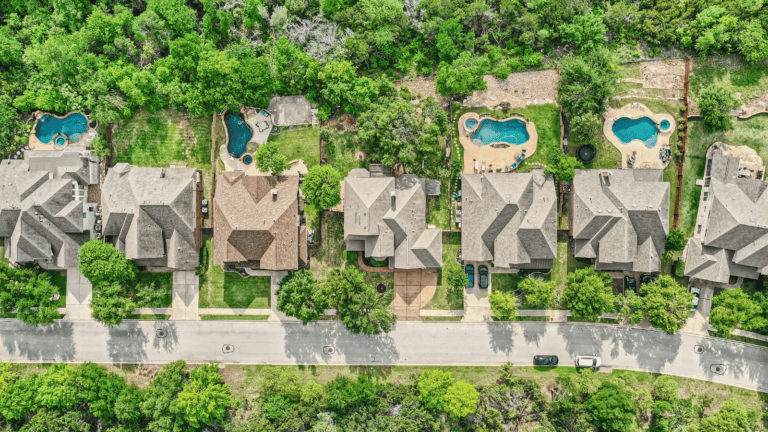
It’s not just your home’s interior that’s being photographed. Your photographer will be taking pictures of the outside of your home, too. To help boost curb appeal, you’ll want to make sure that your lawn is immaculate. Cut the grass, organize any outdoor spaces, and clear away yard toys and debris laying outside.

Stage Your Home the Right Way
With these tips and tricks, you’re ready to stage your home and start pulling in potential buyers. It’s time to get your home listed with local real estate agents and to start the exciting process of selling your house.
Now that you’ve had your home staged, it’s time for you to get started with professional real estate photography that makes your home look appealing to buyers. Register today with Virtuance and we’ll get you set up with stunning photos of your home!


